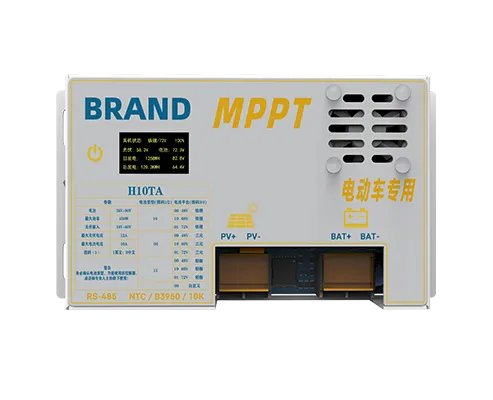
Adding solar panels to electric tricycles, utility carts, golf carts, or light EVs often comes with a major hurdle: the solar panel voltage (18V–36V) is usually way lower than the vehicle's battery voltage (48V, 60V, or 72V). Standard buck MPPT or cheap PWM controllers won't work here — you need a Boost MPPT.
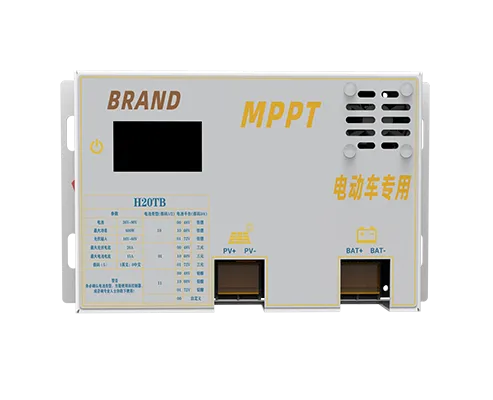
This guide walks through how to properly size and install boost charge controllers for these high-voltage EV builds, focusing on the SUNOPEN H20TB (800W) boost unit.
1. Why Use a Boost MPPT for Electric Carts/Vehicles?
On small vehicles, roof space is limited. You usually have room for around 1.5 to 8 square meters of panels (roughly 300W to 800W total array capacity).
- The Problem: Standard solar panels usually output 18V to 36V. A typical buck controller needs PV voltage to be higher than battery voltage (e.g., needing >60V PV to charge a 48V bank). Putting multiple small panels in series to jack up the voltage isn't always feasible on a tiny roof.
- The Solution: A Boost MPPT controller accepts a lower PV input voltage (e.g., 18V–36V) and steps it up to the 48V/60V/72V required by the vehicle battery, running an MPPT algorithm to squeeze out maximum efficiency.
2. Quick Specs Overview: SUNOPEN H20TB
| Parameter | Value / Details |
|---|---|
| Controller Type | Step-Up / Boost MPPT |
| Supported Battery Voltage | 48V / 60V / 72V DC (Auto-Detect), LiFePO4, Ternary Lithium, Lead-Acid, and customized battery |
| Max PV Input Power | 800W |
| Target Vehicle Applications | Electric Tricycles, Utility Carts, ATVs, Golf Carts |
| Core Tech | Silicon power components (designed for vehicle vibration & heat) |
3. Deconstructing the Specs: What You Need to Know
3.1 The 800W Limit is PV Input, NOT Output Load
Don't confuse 800W with load-driving capability. 800W represents the maximum safe PV array input. On the battery side, current is constrained by battery voltage. For example, charging a 72V bank at 800W yields roughly ~11A charging current. If you want faster charging, expand PV surface area within limits rather than overloading the controller.
⚠️ Auto-Voltage Detection Warning
The H20TB auto-detects 48V, 60V, or 72V system levels upon battery connection. If you connect a severely discharged or aging battery pack whose open-circuit voltage has dropped far below nominal, the controller might misidentify the system voltage class. Always measure your battery terminals with a multimeter first.
3.2 Thermal & Physical Resilience
Vehicle roofs get hot, and vibration is constant. Solid-state silicon power electronics help with high-temperature stability, but check for waterproofing — if the unit lacks an IP65/67 rating, mount it inside a protective ventilated enclosure.
4. Three Common Installation Traps (And How to Avoid Them)
❌ Trap #1: Ignoring Low-Temperature (Voc)
A boost controller steps voltage up, but the PV input stage still has a hard upper limit for input voltage. Solar panel voltage increases in cold winter weather. If low-temp Voc surges past the controller's max input rating, it will fry the MOSFETs.
Rule: Look up your panel's temperature coefficient, calculate worst-case winter Voc, and keep at least a 15% safety buffer.
❌ Trap #2: Connecting Solar PV BEFORE the Battery
This is a classic rookie mistake across all MPPT setups, but especially lethal for auto-detecting boost units:
- Correct Order: Connect Battery FIRST → Let controller initialize & detect system voltage → Connect PV Array LAST.
- Connecting PV first sends unconditioned full voltage into an uninitialized controller and can permanently damage the board.
- For SUNOPEN MPPT, Full Safety Protection: auto protection mechanisms, including photovoltaic overvoltage, reverse connection, short circuit, nighttime backflow prevention, and overtemperature protection, provide all-weather protection for your battery and load.
❌ Trap #3: Relying on Vehicle Nameplate Ratings
Never guess system voltages or assume factory specs are accurate after years of use. Measure the real terminal voltage of the battery pack and check panel specs directly from the manufacturer badge.
5. Pre-Flight Checklist Before You Wire Up
- Battery check: Terminal voltage sits within standard ranges for 48V, 60V, or 72V systems (Note: NOT compatible with 36V or 96V setups).
- PV Voltage check: Winter voltage calculation stays comfortably below maximum input specs.
- Interlock check: Ensure adding the solar controller into the vehicle's DC bus does not interfere with the factory wall charger/interlock circuit.
- First Startup: Measure polarity on all wires with a DMM before turning switches on. Observe the LED indicators to confirm it enters active MPPT tracking mode.
6. FAQ Quick Reference
| Question | Answer |
|---|---|
| Can I use this on a 36V Golf Cart? | No. The H20TB is strictly designed for 48V, 60V, and 72V platforms. |
| Why not just use a standard PWM controller? | PWM controllers can only drop voltage (buck), not boost it. If PV voltage is lower than battery voltage, a PWM controller simply won't charge the battery at all. |
💡 Bottom Line
The SUNOPEN H20TB gives you a low-cost, high-efficiency way to put a roof-mounted solar array on EVs and utility carts — as long as you respect the PV input limits, keep a 15% cold-weather Voc buffer, and always connect the battery before the panels.
Hope this breakdown helps anyone putting together a low-cost, high-efficiency solar charger on their EV or utility cart project! Contact SUNOPEN if you have questions or want to share your own boost MPPT build experience.